
Quick start
This page walks you through the main features of tessoa in five steps: open a folder, change a setting, open a second tab and split the window, and save the whole setup as a layout. It takes about five minutes.
This page assumes tessoa is installed and open. If it is not, start with Install & download.
1. First launch
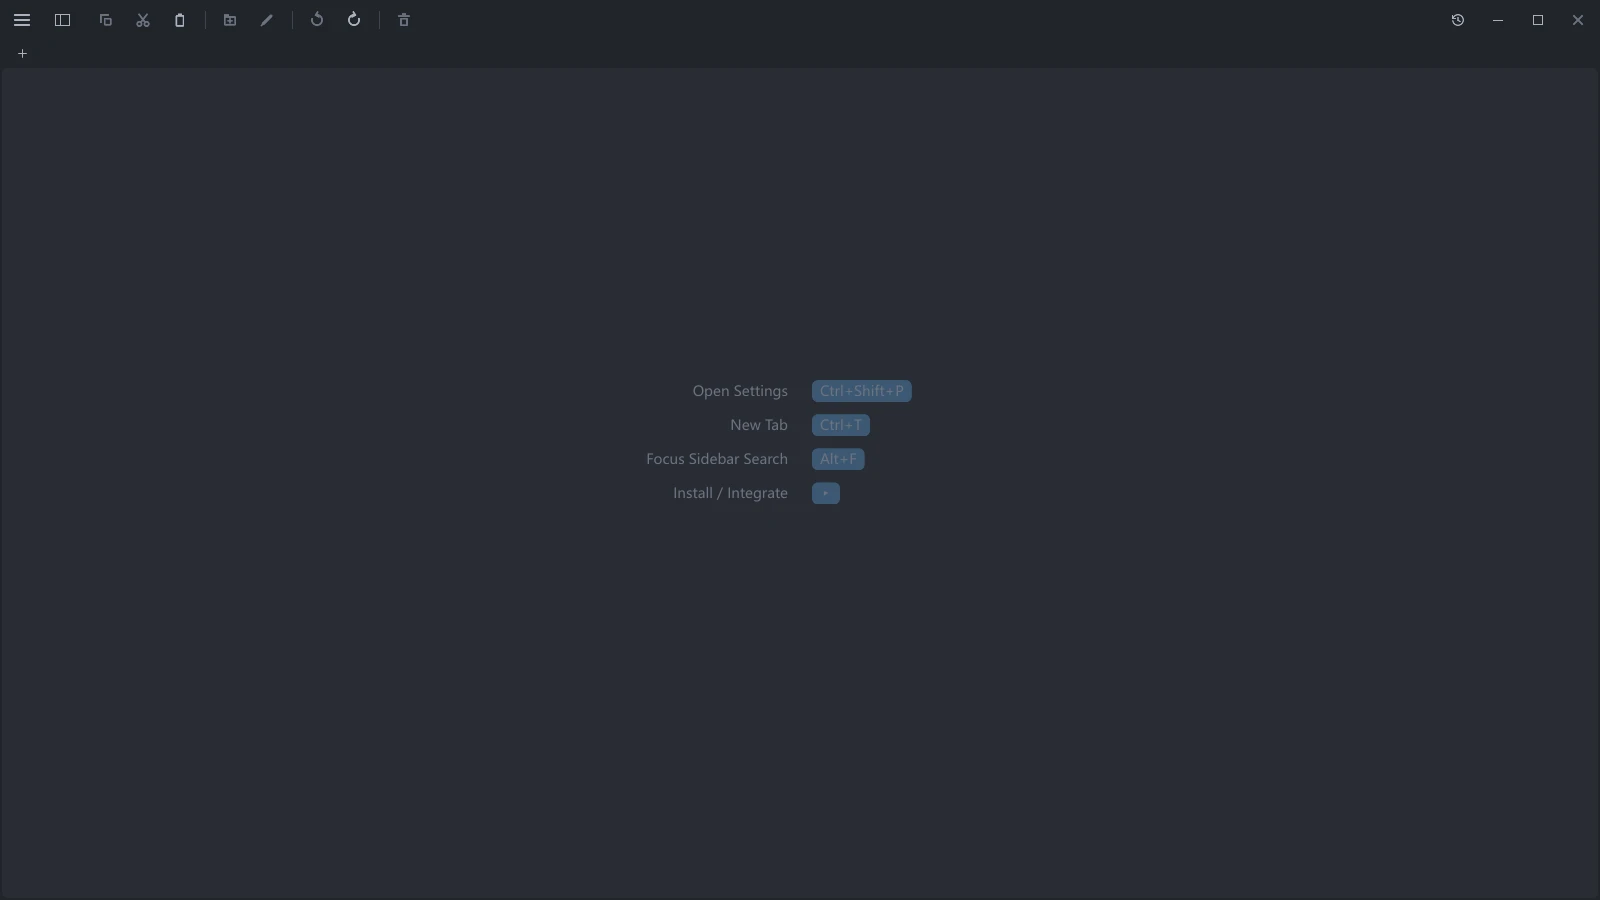
The first time you open tessoa, you get the Start Page: common actions and their shortcuts in the middle, all clickable.
After that, tessoa brings back the tabs, splits, and folders you had open last time, and the Start Page no longer appears.
On Windows the Start Page also offers Install / Integrate. Installing is recommended: you then start tessoa from the Start Menu, instead of looking for the downloaded exe each time. See Install & download.
2. Open a folder
Double-click a folder to go in, or select it and press Enter.
The nav bar at the top has back, forward, and up-a-level buttons. Your mouse side buttons go back and forward too.
3. Open Settings and change one thing
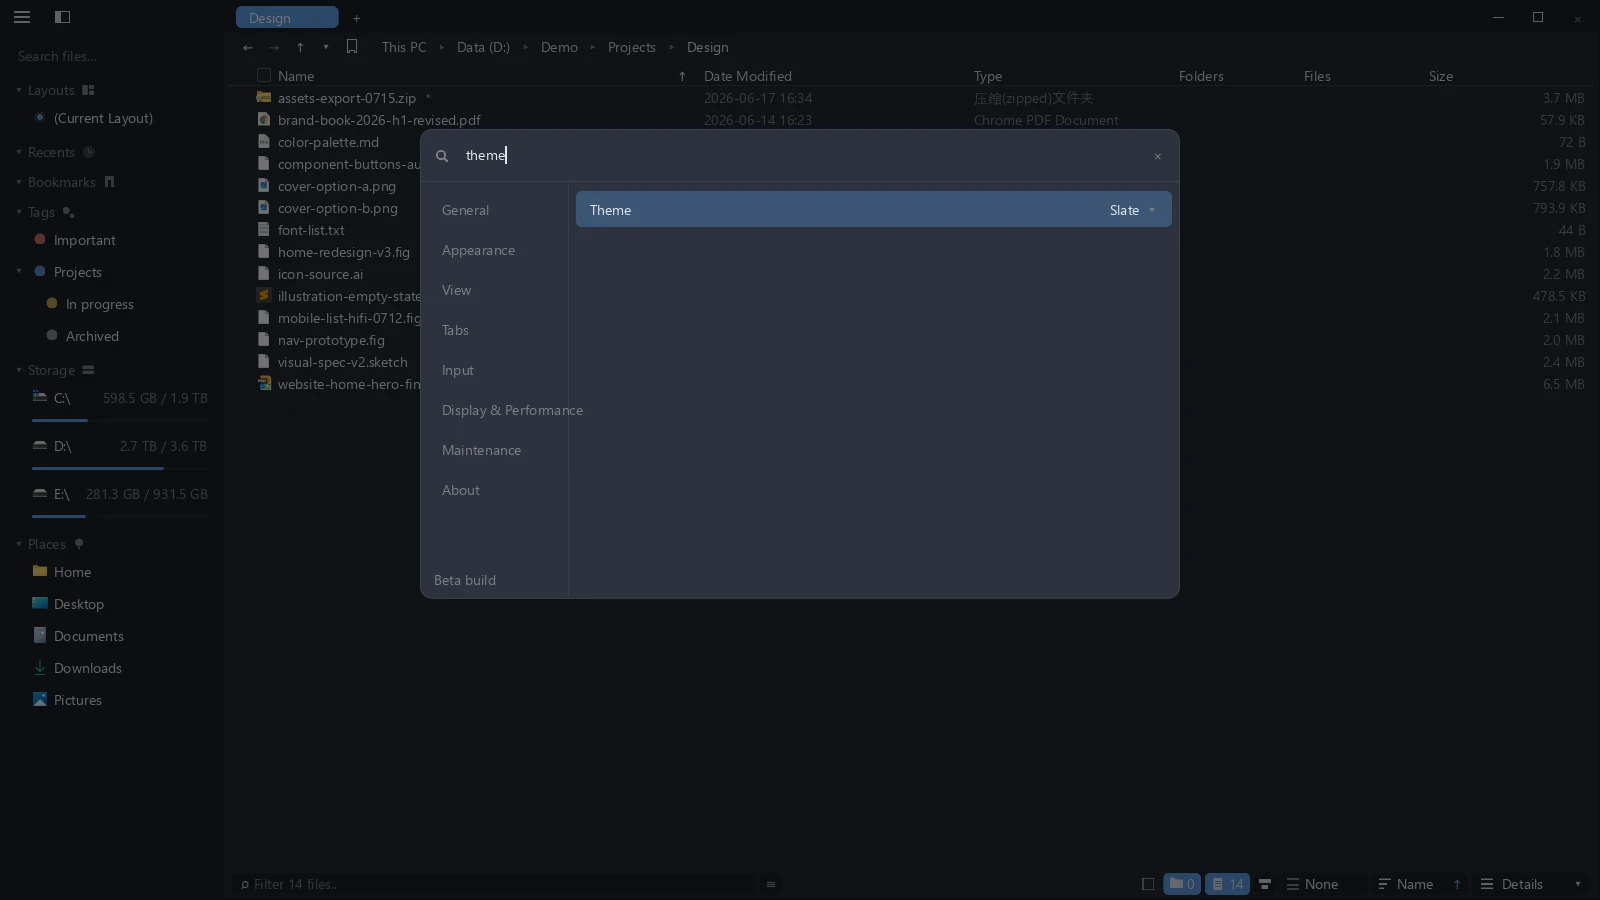
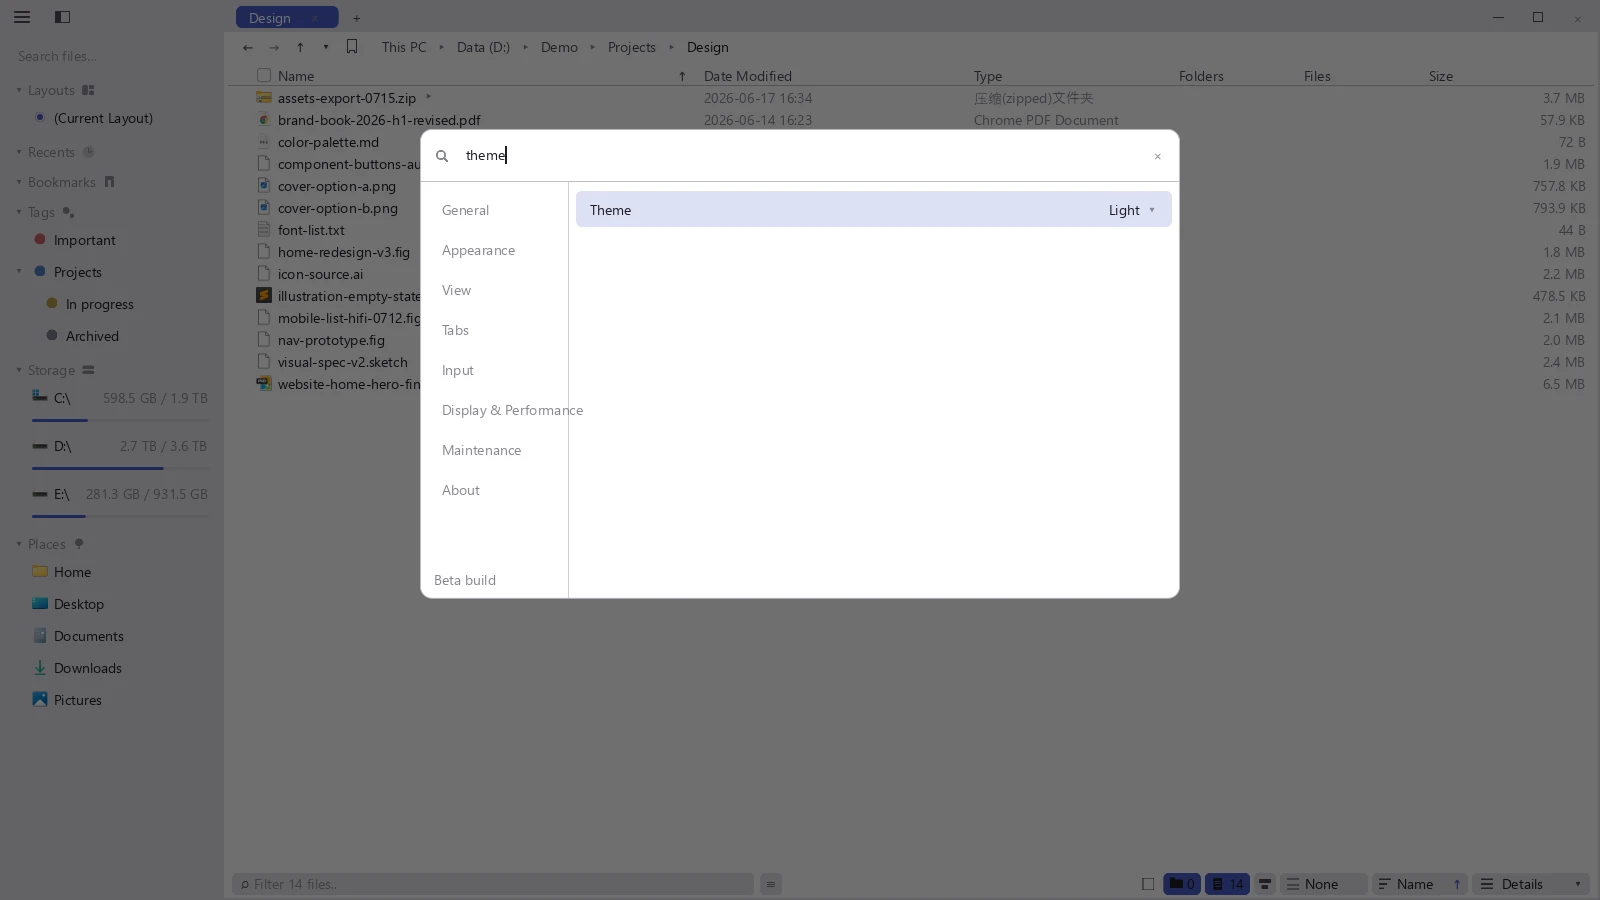
Settings floats over the window and filters as you type. Every preference in tessoa is changed from here, including the theme and the language. Changes take effect immediately, save themselves, and still apply after a restart.
4. Open a second tab and try a split
- Press Ctrl+T for a new tab and open another folder in it.
- Hold the tab by its title and drag it to the right edge of the window.
- When the right half highlights, let go. The window is now split in two.
5. Save it as a layout (optional)
Select Layouts in the sidebar tab strip and give your current setup a name. Naming it is what saves it. From then on you can switch between different sets of folders on this page.
To start from panes that are already laid out, select Layouts, click + at the right end of its tab strip → New from Template…, and pick one of the twelve arrangements. The column on the right lets you set a folder per pane, pre-filled with the ones you have open.
What to read next
| If you want to | Go to |
|---|---|
| Learn what the parts are called | Interface tour |
| Keep bookmarks and tags visible together, or find an open folder | Sidebar & component pages |
| Copy, rename, find files | File operations |
| Color-tag your files | Tags |
| See files as big images or a list | View modes |
| Read file contents without opening another app | Preview |
| Keep the folders you go to often | Bookmarks |
| Look up where that batch of files went | Activity |
| Look up a shortcut | Keyboard shortcuts |
| Work entirely from the keyboard | Vim mode |
| Sort out a problem | FAQ |
Interface tour · Sidebar & component pages · File operations